Archived Ideas for February, 2010

IDEA 24: PHOTO ORG

Photo_Org_1

If you are looking for a photo album solution, it means you probably have boxes (or drawers, or computer files) of photos that have piled up. This tidbit is not exactly about organizing those. For now, I would either ignore them or if they have been printed, buy a whole bunch of matching photo boxes and at least get them all in one place. Once you have seen how clever you can be at photo org, you can go back and tackle them.

This is about This Day Forward. Because if the very next time you take pictures you start doing this, the number of organized pictures will eventually surpass the number of disorganized ones. And hopefully you will inspire yourself to one day work on the others. (Besides, by then you’ll be a pro).

Here’s the first key: In most of our lives there are really only a handful of photo events in any year. OK, if you have a newborn, there is a photo event every day. But generally, most of us haul the camera out a half a dozen times a year, usually centering on holidays or other significant ceremonies, etc. Even if you do snap away every day, use the big picture events to do this.

As soon as possible after the next picture event, download your camera to your computer. Right now, before getting up, you are going to decide which ones to print. Just start going through them. If you like the picture, either name it or put it in a folder (whichever works for you). If you don’t like the photo, just skip to the next one. Don’t worry about throwing it out. (That’s the part that makes it way too hard). All you’re doing is identifying the ones you LIKE. Once you are sure the files are all in your computer, delete everything on the camera.

Now, go to a photofinishing website. I use my local drugstore. On the site you will learn to send your photos to the store (you’ve just identified which ones to print with your naming or file system) and they will make prints which you will go pick up. There will be options for paying online and/or having the prints sent to you. Do as you wish, but I find checking the box that says I will pay when I pick up is the easiest.

This next part can be done at the same drugstore, or in my case I like the big box stores: Find some reasonably priced photo albums and buy as many as you are comfortable, like a row as wide as your shelf. Do the albums HAVE to be the same? No. Get what you want. Sometimes sameness helps one to feel organized. And a whole row of identical albums is beautiful. My collection consists of chunks of like albums interspersed with the occasional fun surprise, partly because I like a little variety, and partly because of the way the collection has taken years to grow. Purchase a sheet of letters of the alphabet from the scrapbook aisle and letter the spines of the albums starting with A.

Photo_Org_2

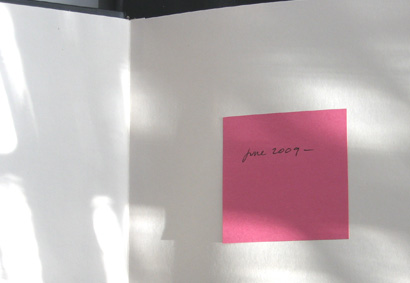
Then, attach a “sticky note” inside the cover of album “A” and write the month and year of the photo event followed by a dash. Now put in all those photos you picked up.
Photo_Org_3

Repeat the process immediately after each picture event, with all shots that are in the camera, deleting the camera files when you have downloaded them to your computer. When the album is filled, write the current month and year on the sticky note (after the dash) and move on to album “B.” Once you’re sure the album is done, if you like, you can write the dates directly on the album page and scrap the sticky.

I have used this system for years. The resulting books are a constant source of joy for me and for anyone who comes in my kitchen (where the albums are stored, taking up more shelf space than the cookbooks). Of course I started the system long before there was digital photography. The main thing is to just start putting the pictures in books. And making it part of the photo-taking experience. You don’t have to feel bad if you don’t want to print them all, or put them all in the book. I’ve had occasions where I used most of an album on one single occasion. And others where there were only one or two photos that told the whole story. Since you don’t throw out the computer files, you will always have them as back-up. So you can proceed without feeling the burden of getting it exactly right. You rest assured knowing you can always go back in for “revisions” if you want to. Although we both know, you never will!
IDEA 23: FOREVER VALENTINE

Val_4

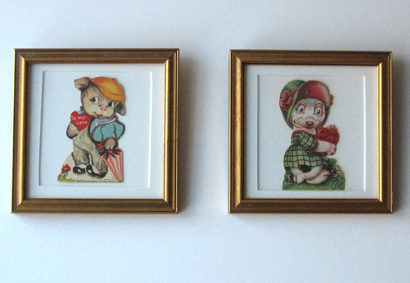
My daughter was born in February, which meant I had one very pregnant Valentine’s Day. So that may have been the reason I got this idea. But never-the-less it’s one worth sharing. Who, but your new born baby could possibly be your best Valentine ever?

Val_2

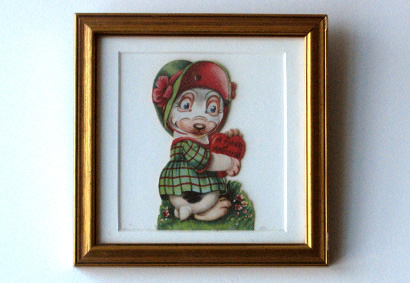
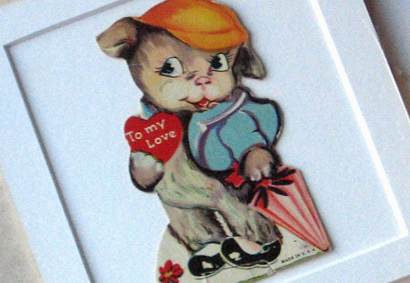
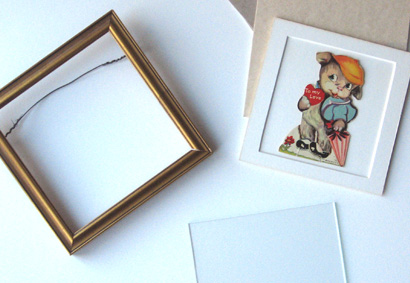
Look for some sweet old fashioned Valentines at an antiques shop and frame two of them for the nursery wall. Frames are available everywhere, but I liked these vintage gold leafed ones. Many come equipped with a mat, but since I wanted very small pictures, I took mats from a larger frame and cut them down to fit small frames. This way I got the fine professional bevel of the mat and I just had to cut the outside to make it fit my small frame. You can also have small mats custom cut at the craft and floral store. Or, cut your own mat from a piece of wrapping or wallpaper. I used another matching solid white piece of mat board under the card and stuck it down with a little double stick tape.

Val_3

Of course you don’t have to use antique cards for this. Any Valentine you love will do. And when it comes to your little one, it’s sweet sentiment really does last all year long!

Val_1

IDEA 22: CURE FOR CABIN FEVER

Snow_flake_1

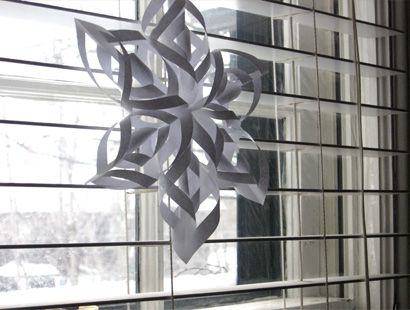
In many places across the nation, this winter has been one of the most, well, wintery on record. Some of us are having weather we’ve never seen before. Here in Minnesota the snow came early and stayed. Well, in true BellaPamella fashion, the following suggestion (on the order of “if you can’t beat ’em, join ’em”) is to embrace the weather. Celebrate the flakes.

Once we take down all the holiday stuff, the house takes on a certain simplicity, and I love that. For about a month. Then I start to wonder how long winter is going to linger. This year my daughter brought home a lovely snowflake project that she taught me how to do. We hung the flakes in the window in celebration (or was it defiance?) of a bright white yard that just refuses to melt.

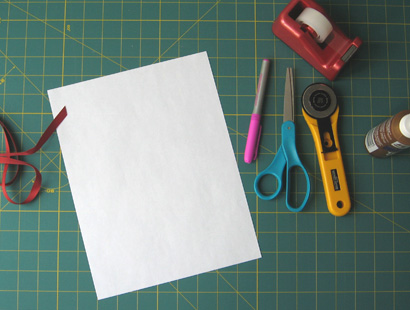
It’s one of my favorite kinds of projects because it requires only things we already have around: 8 1/2″ x 11″ white paper (printer paper is perfect), scissors or a rotary cutter and mat, tape and/or glue, and string or ribbon. We have a supply of fabric ribbon and so we used red grosgrain. You will also need a pen with a smooth, even barrel on it to form the first loop. For this size snowflake, a pen that’s a little fatter than a pencil works well.

SFP_1

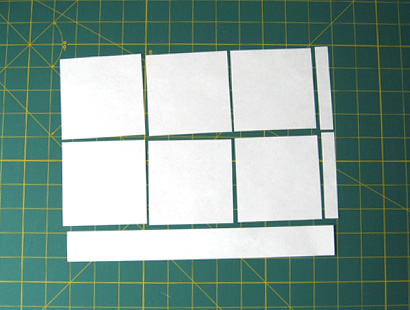
Start by cutting the paper into six 3 1/2 inch squares. Each snowflake will take one sheet of paper.

SFP_2

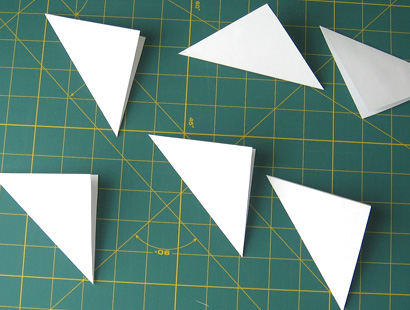
Fold each square in half diagonally, into a triangle.

SFP_3

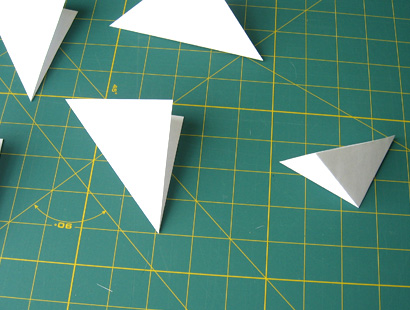
Then fold each in half again.

SFP_4

SFP_5

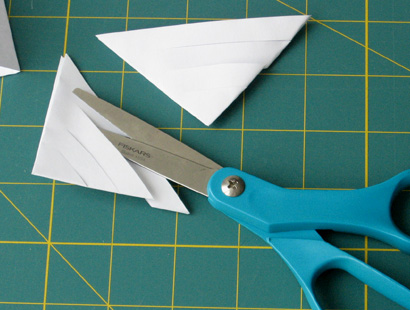
With scissors or the cutter, cut three slits on each triangle. Cut parallel to the cut edges (not the folded ones) and cut to about 1/4 inch before you reach the fold.

SFP_6

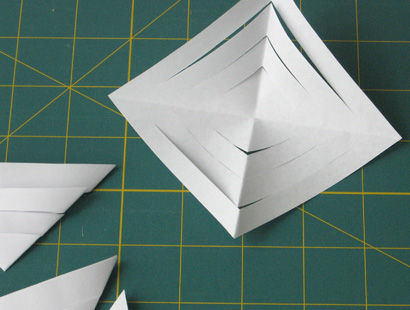
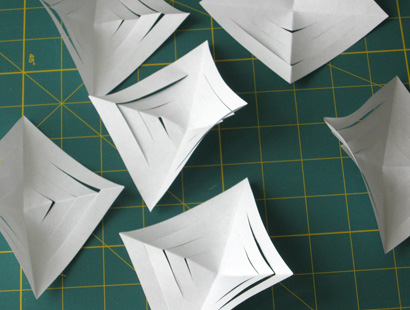
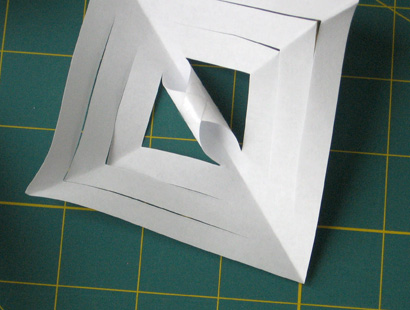
Carefully open the triangles back into squares. Each square should have six “V”s cut into it.

SFP_8

And gently smooth your finger along the middle crease to help flatten the paper. It’s best if you do the steps to each piece at the same time. You will have six squares for each snowflake.

SFP_9

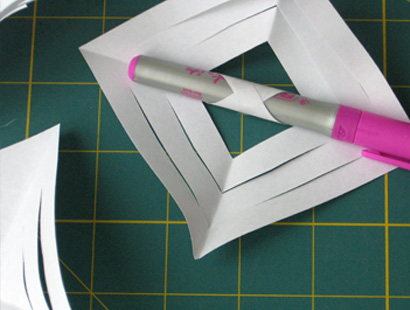
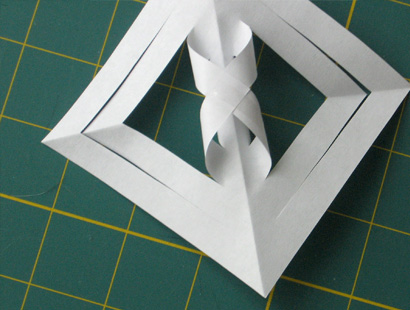
Now, wrap the two corners of the innermost square around the pen and secure it with tape.

SFP_10

When you pull the pen out it looks like this.

SFP_11

Turn the square over and loop the next two corners and secure with tape. This loop will be bigger than the first, AND FACING THE OPPOSITE DIRECTION AS THE FIRST.

SFP_12

Turn over again, and tape the next corners the same direction you did the first loop.

SFP_13

They now look like this.

SFP_14

Now turn them over again and tape the last two (largest) corners.

SFP_15

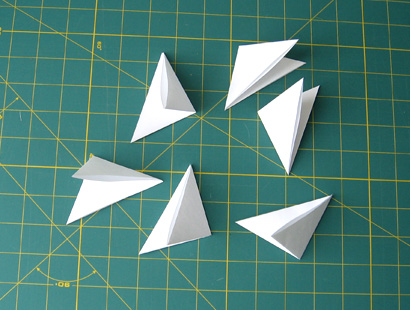
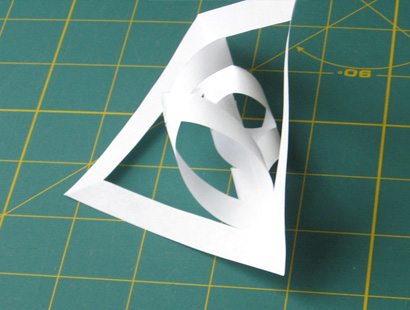
From the side, your squares should now look like this

SFP_16

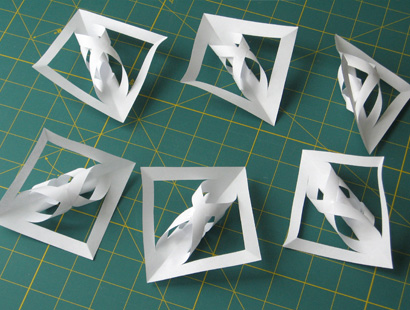
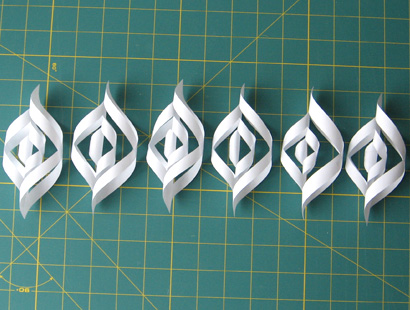
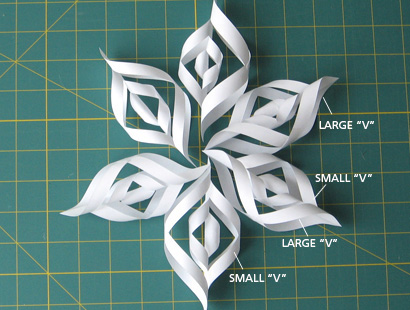
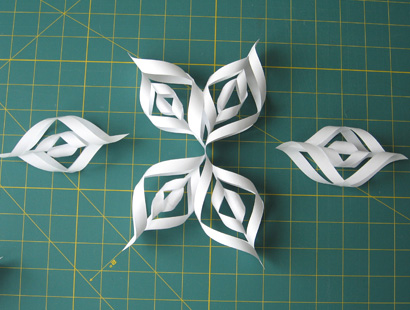
Notice how each piece has become a point of your flake. And also that each one has a large “V” on one side and a small “V” on the other side. Line up the six points with the large “V”s on the right. Now start to turn the points into a star. Make sure that each point is oriented the same way so that a large “V” is always next to a small “V”.

SFP_17

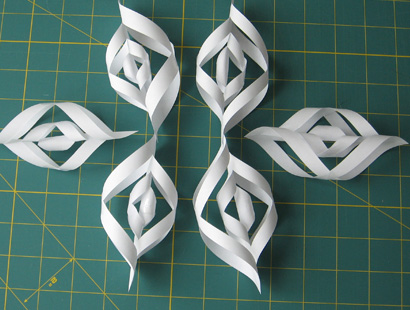
We found the easiest way to attach the points together was to first tape two “pairs” together as shown.

SFP_18

Fasten the pairs together.

SFP_19

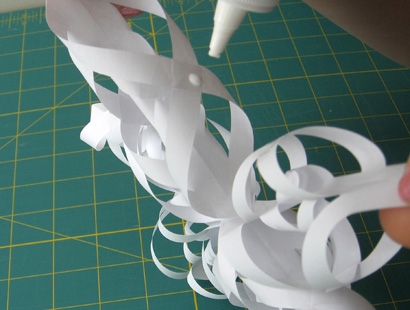
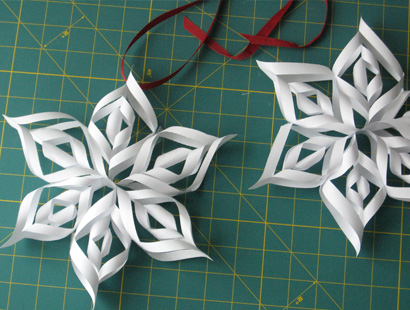
And then, tape on the last two points. You now have a full snowflake. But you will probably find if you try to hang it, gaps will form between the points that are pointing up. Hold the snowflake by it’s top point and let it hang. Where you see the gaps, put a dot of glue or a dab of glue stick, and pinch the spot together until it holds.

SFP_21

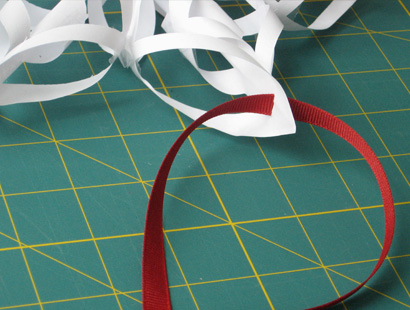
Finally, cut a small slit in the top point and lace your ribbon through.

SFP_22

Make as many snowflakes as will brighten your room and stave off the winter blues!

SFP_23

We have one snowflake hanging in each window. They make me smile every time I see them against that snowy yard. They serve as a reminder that there is beauty in all the seasons. You just have to look for it.